Description
OpenCV is an open computer vision library originally from Intel. It provides a lot of prebuilt functions for computer vision programmers to use. The latest release version in January 2013 is version 2.4.3. However, there is no document on how to set it up with Visual C++ 2010. Most of the document only covers 2.3.x or 2.4.1. After stuggled for more than a week, finally I got the it to work. To easy other programmers’ pain, I created the post here.
Steps to Set Up OpenCV 2.4.3 in Visual C++ 2010
- Download OpenCV 2.4.3 for Windows from OpenCV’s download page
- Run download OpenCV-2.4.3.exe to extract all files to C:\. Rename the folder to OpenCV2_4_3. It should have folders shown in the picture below.
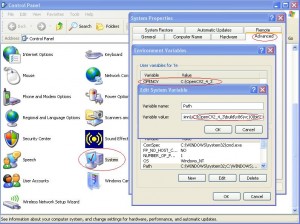
- Go to Control Panel to setup user environment variable OpenCV2_4_3 for easy reference.
- Add folder “C:\OpenCV2_4_3\build\x86\vc10\bin” to the path environment variable. However, if you use 64 bits processor, or use different visual C++ version, you should adjust your path accordly.
- Create a new windows 32 empty console project OpenCV_HelloWorld.
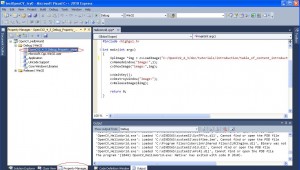
- Add a project property sheet for debug in property manager.
- Add “$(OPENCV)\opencv\build\x86\vc10\lib” in linker -> General -> Additional Library Directories

VS2010 Project Property Linker Additional Library Directories - Add all library files end with “d” (for debug use, release library without “d”) in linker -> Input -> Additional Dependencies

VS2010 Project Property Linker Input Additional Dependencies - Add “$(OPENCV)\build\include” and “$(OPENCV)\build\include\opencv” in c/c++ -> general -> Additional Include Directories

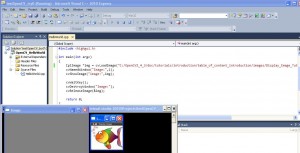
VS2010 Project Property C/C++ General Additional Include Directories - Add an C++ file to the project and past following code to it. When build and run the code. If it should show the fish picture, you installation work.#include
int main(int argc)
{
IplImage *img = cvLoadImage(“C:/OpenCV2_4_3/doc/tutorials/introduction/table_of_content_introduction/images/Display_Image_Tutorial_Result.jpg”);
cvNamedWindow(“Image:”,1);
cvShowImage(“image:”,img);cvWaitKey();
cvDestroyWindow(“Image:”);
cvReleaseImage(&img);return 0;
}


