Description
RAID uses multiple hard drives to protect data. If one of the hard drives in the RAID volume fails, Intel shows error message below. RAID can rebuild the volume if you replace the damaged hard drive. Dell provides Intel RAID hardware as an option. Here are steps to restore a damaged Intel RAID Volume.
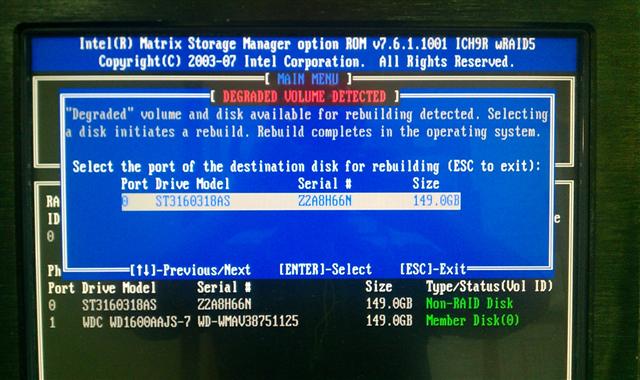
Steps to Restore Damaged Intel RAID Volume
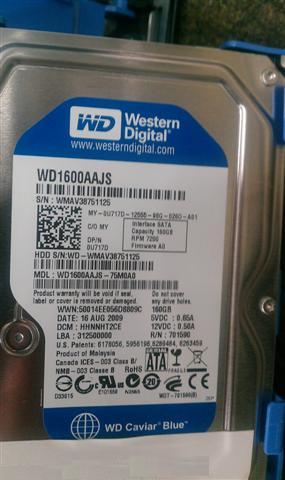
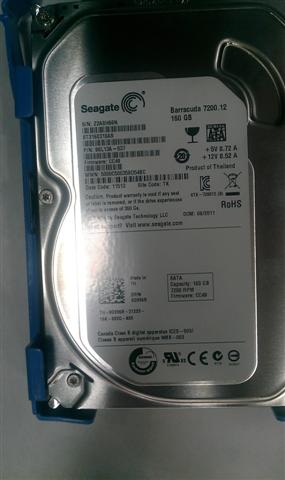
If one of the RAID hard drive fails, every time computer is restarted, a warning screen is shown. You should replace the damaged hard drive as soon as possible. The best replacement hard drive should be the same make and model as the damaged one. If that’s not available, you should obtain one with same memory size and RPM as the damaged one. Different size or different RPM may not work.
- Write down the working hard drive’s serial number. If you do not know which is the working hard drive, you can remove one hard drive at a time. If the computer boots up fine, then the hard drive connected is the working hard drive.
- Write down the replacement hard drive’s serial number.
- Install the replacement hard drive into computer and boot it up.
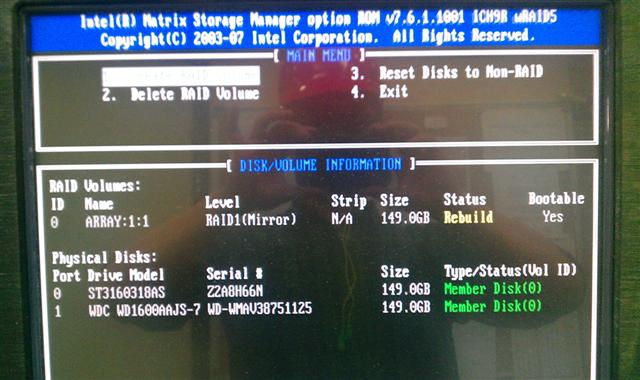
- The new new hard drive shown as a Non-RAID disk
- Select option 1 “Create RAID Volume”
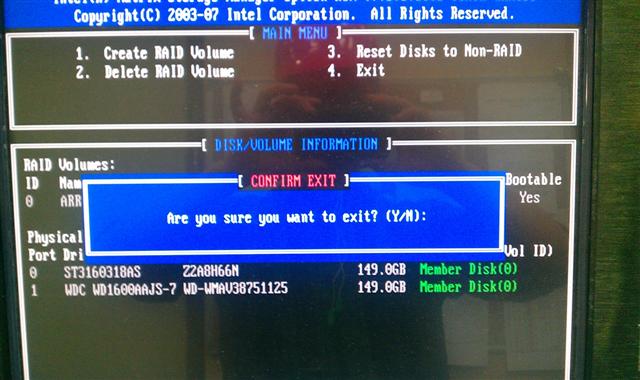
- Exit RAID screen and start up. Intel RAID controller re-build the new hard drive in back ground. It will complete in about an hour.
Now you have a fully functional RAID volume.
